


Guide to recording your DJ Set.
DJs have always wanted a hassle free solution to recording their DJ sets, to capture that great mix, that last second change of tune to go with the vibe of the party and more recently, to share it with fans and friends on social media (barring any pain in the backside copyright rules!)
So, what are your options?
Well, if you’re DJing with software like Serato or Traktor using a controller, then it’s easy as the software has a built in record feature.
However, if you’re using almost any other type of setup, e.g 2 decks and a mixer, timecode system or almost any other combination, then you have a few choices.
All of these choices will involve taking a recording signal out of the mixer, so make sure you’re using one with a dedicated record output or at least a secondary master out.
Now, where do you go from there?
1. Directly to a computer:
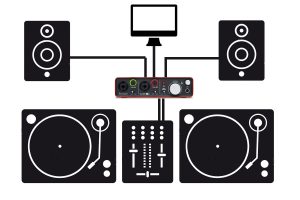
Only practical if you’re at home or in a studio, using a simple USB interface like the Presonus Audio Box 96 or Focusrite Scarlet 2i2 along with some free software like Audacity or Ableton Live Lite and record straight into your Mac or PC.
Pros: Economical and lets you record at high quality, the audio interface also has other uses.
Cons: Bulky setup and not really portable.
If you’re DJ’ing from the same computer it could put extra strain on the processor.
2. On to your iPhone or iPad:
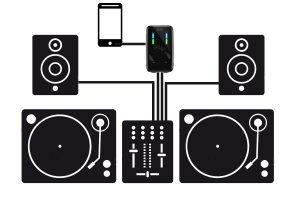
Using an adaptor cable will work but will only give you a mono signal. There are interfaces to allow a stereo input like the IK Multimedia iRig Pro Duo, it runs off batteries and connects to the lightning port on your iOS device then plug in from your mixer, set the audio levels and hit the record button on the app.
Pros: Puts the recording straight on your phone to edit and share easily, reasonably portable and useful for on the fly recording.
Cons: You can’t really use or charge your phone while recording and drains phone battery.
3. A portable recorder:
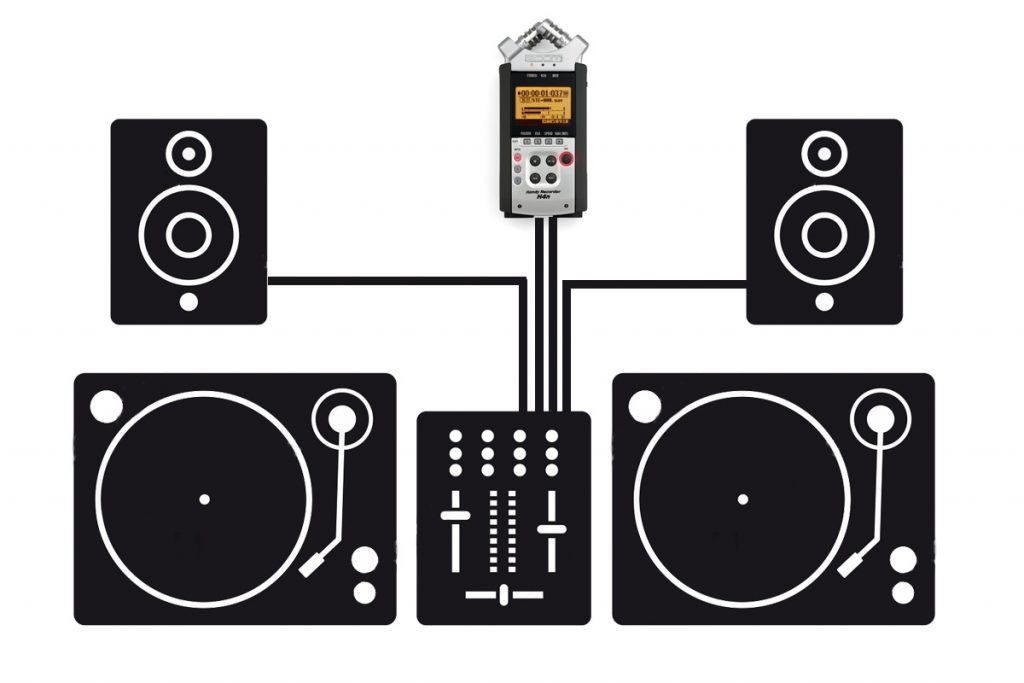
This is our favourite method. The only thing the external recorder relies on is a signal input and battery power. You simply take the signal from the record or secondary master out from the mixer or controller into the line input on the recorder (most have a 3.5mm jack, the better ones will have TRS / XLR inputs for balanced connection).
These recorders will save the file on to an SD or Micro SD card and have variable quality settings which will also vary the length of the recording allowed too.
Portable recorders usually have built in microphones too which is great for recording ‘live’ sounds for sampling.
Our top portable recorders are the Zoom 2N and Zoom H4N Pro
Pros: High quality recording, useful for other purposes, compact, doesn’t rely on other pieces of gear.
Cons: Small displays, you have to transfer the files from the card / recorder to computer


